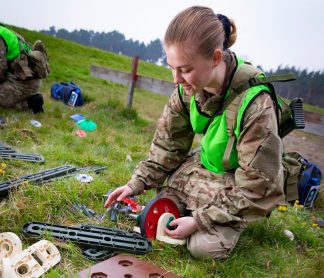
Behind the scenes of our MTa STEM Kit reveal…
What started out as a quick project on a Monday morning quickly escalated as we got into the build, and started to enjoy it – just a little bit too much!
Here’s how we did it:
#1 The Catapult
This is the classic MTa catapult taken from the bespoke Army Cadet Force MTa Stem Kit. We added stabilisers at the front to improve its accuracy and experimented with different projectiles. Initially we fired different kinds of balls but we couldn’t get the trajectory to be consistent. Slowmo analysis showed the balls wobbled as they accelerated on the ‘launch pad’. Eventually we found that a bean bag produced consistent results and we could vary the arc of the projectile by increasing the number of beans in the bag.
#2 The First Trigger
This simple trigger released the car. It’s a straightforward mechanism whereby the energy from the falling target retracts a pin attached to the base of the structure. In turn this releases potential energy from an elastic band, which retracts a U shaped chock that is retaining the car. To start with it was difficult to get the falling target to pull out the pin, but by placing some slack in the connecting line the falling target was able to acquire greater kinetic energy before it needed to pull the pin. Moving the attachment nearer the fulcrum also helped.
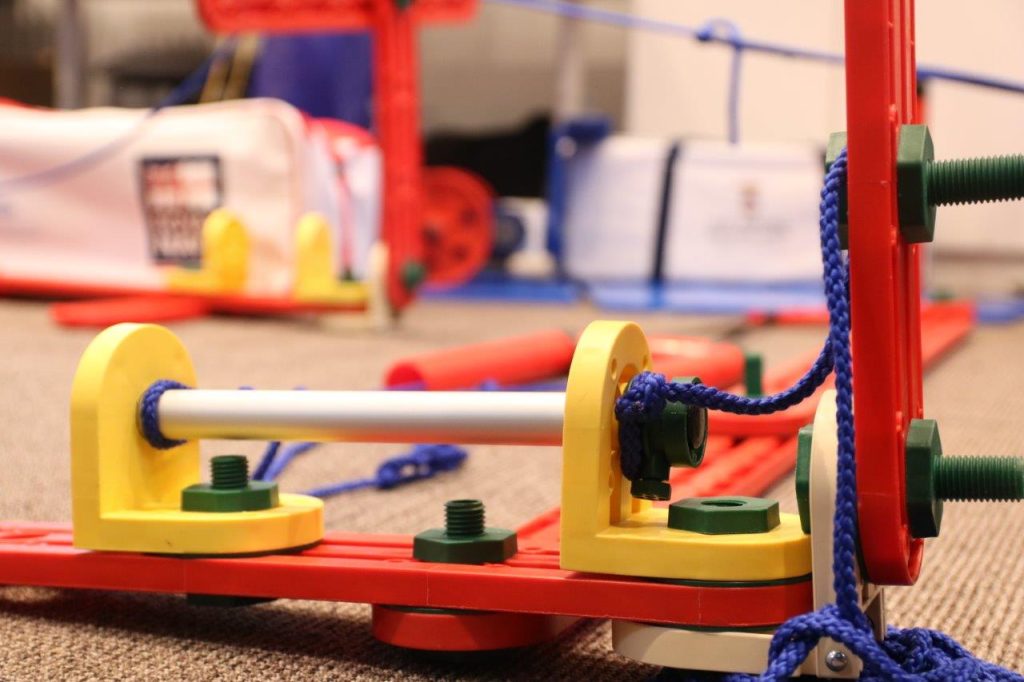
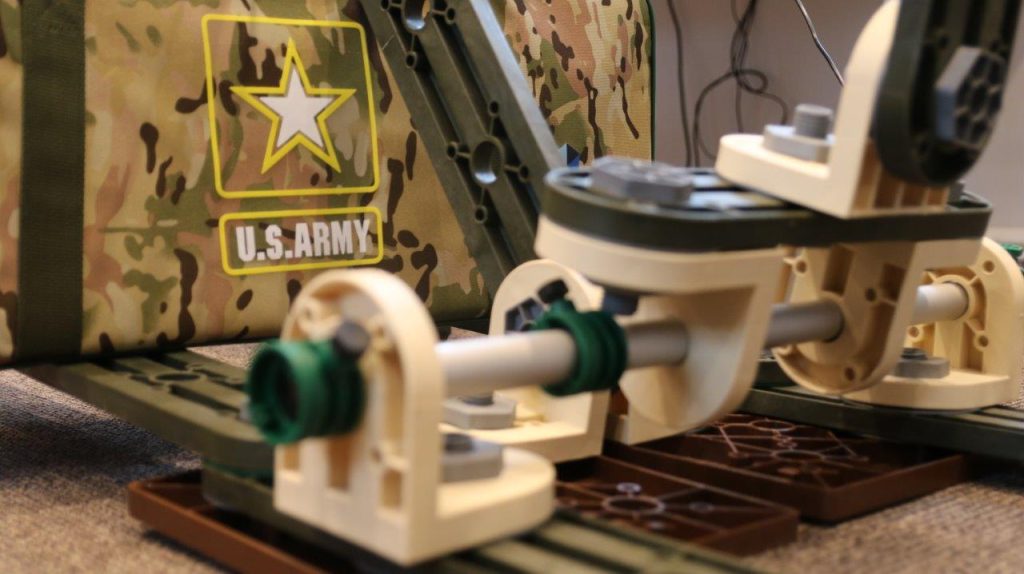
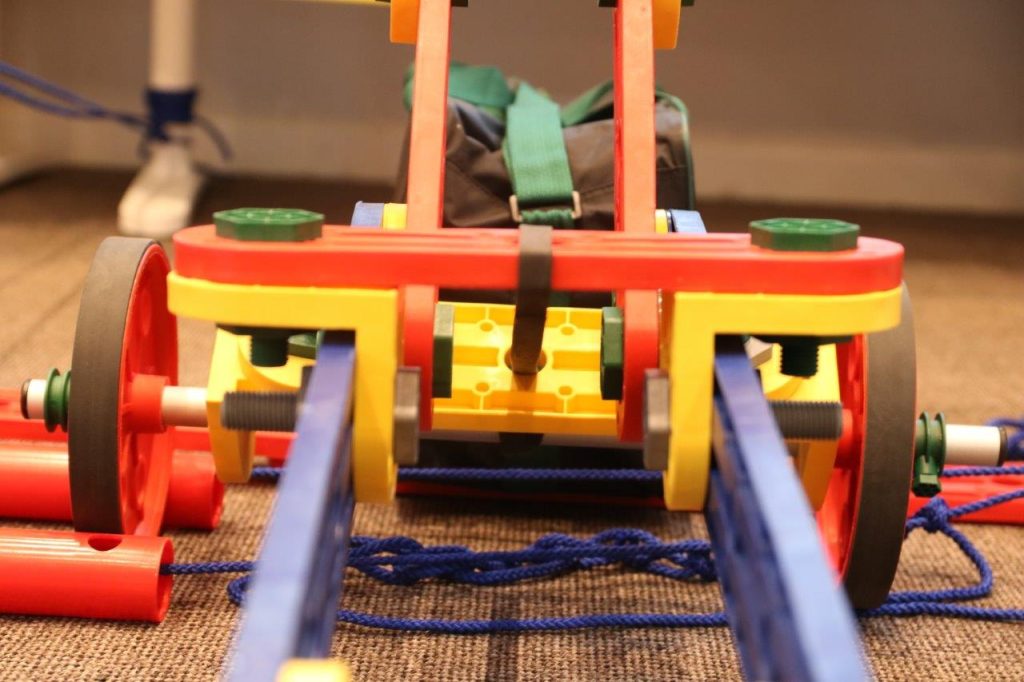
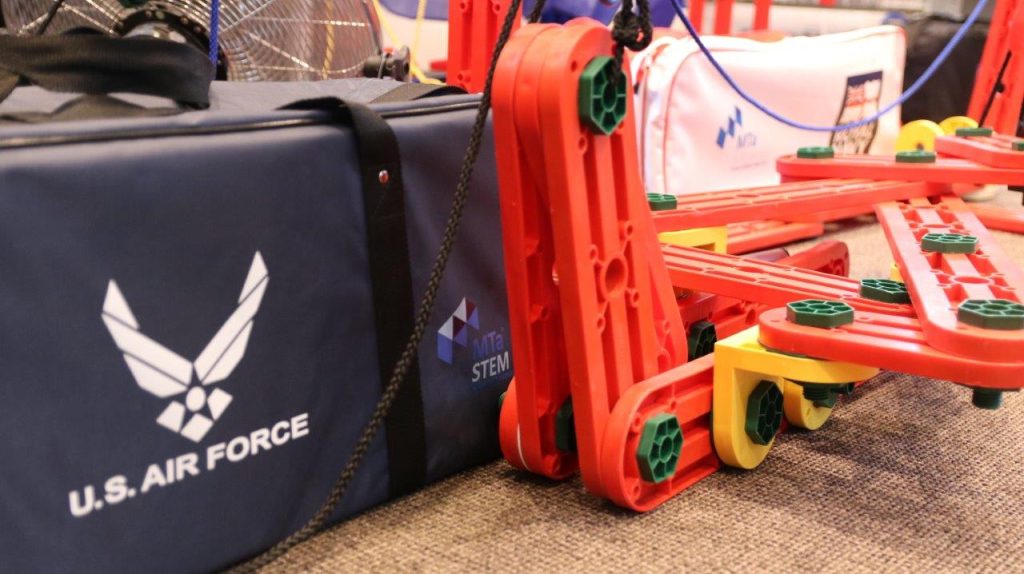
#3 The car
The car is a variation of the car found in the Wound Up activity from the MTa STEM Kit and is powered by super strength rubber bands. Initially we had problems keeping the car on a straight to trajectory. The track of the car was random, suggesting some form of movement in the structure. We solved the problem by paying particular attention to the alignment of all the girders and brackets, and added locking washers everywhere we could, to ensure no imbalances in the structure.
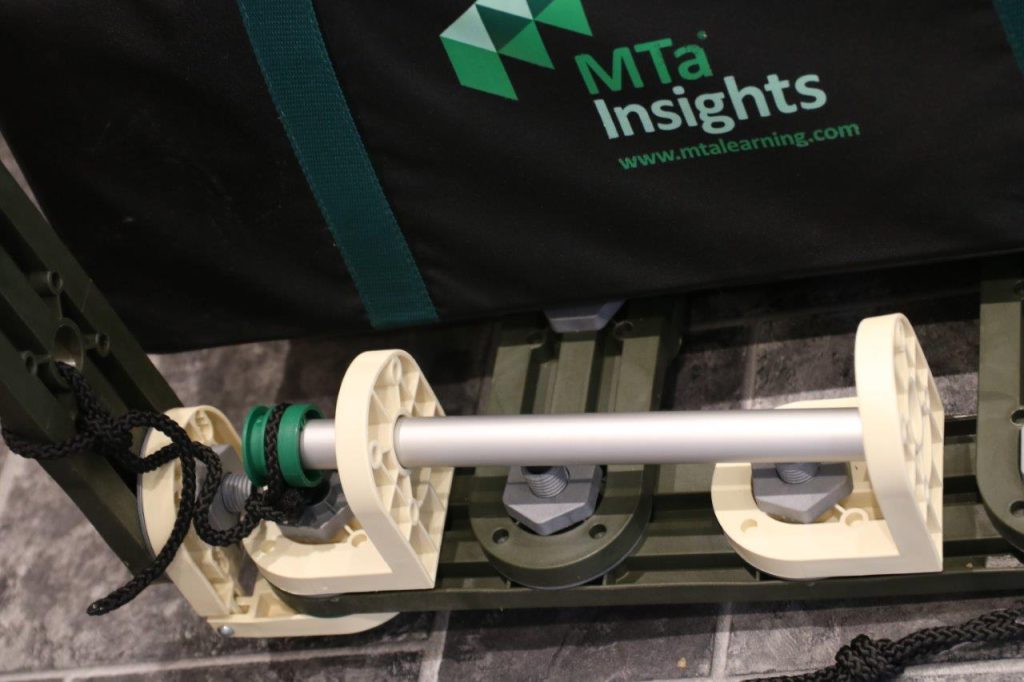
#4 The Second Trigger
This trigger is based on a similar principle to trigger one. The weight of the plane kept raising the trigger, but this problem was solved with 50 kilos of MTa Insights Kit sat on some extended foundations. The purpose of this trigger was to release a rope that held the plane at the top of its flight path.
#5 The Plane
We built this using a standard MTa Insights Kit and it’s probably the simplest elements of this interconnected reveal. It was based on the silhouette of a Eurofighter with some aluminium axles as missiles. At first we tethered the plane to the rope using carabiners, while these produced a satisfying rattle as they descended the line, they produced too much friction and the plane didn’t descend fast enough to trigger the next element. So we created bearings using spacers from MTa Insights, and made sure the connecting beams were only loosely held together – this was achieved by placing additional washers into the connection at the opposing end of the beam.
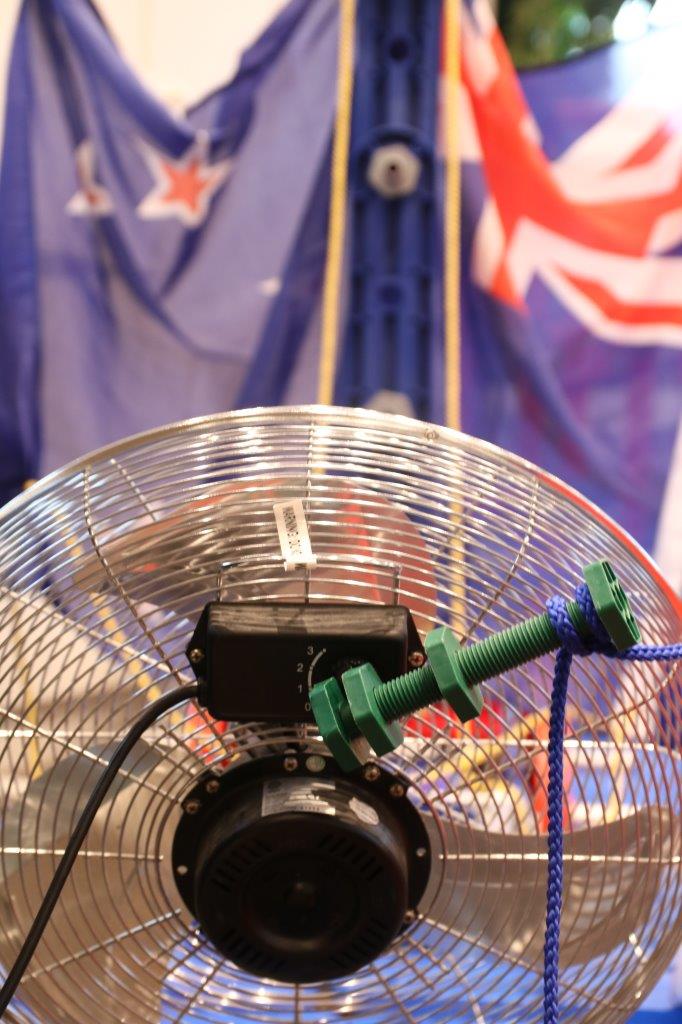
#6 Trigger 3
This trigger needed to turn the fan on to blow the ship. We spent many hours trying to get the trigger to fall onto a plug which had been loosely placed into an extension lead but this invariably failed to start the fan. We solved the problem by using a standard MTa Insights nut and bolt to crimp the power switch on to the fan. Remarkable this was the most reliable part of the interconnections. To transfer the force of the trigger through 90 degrees we set up a simple rope and pulley system.
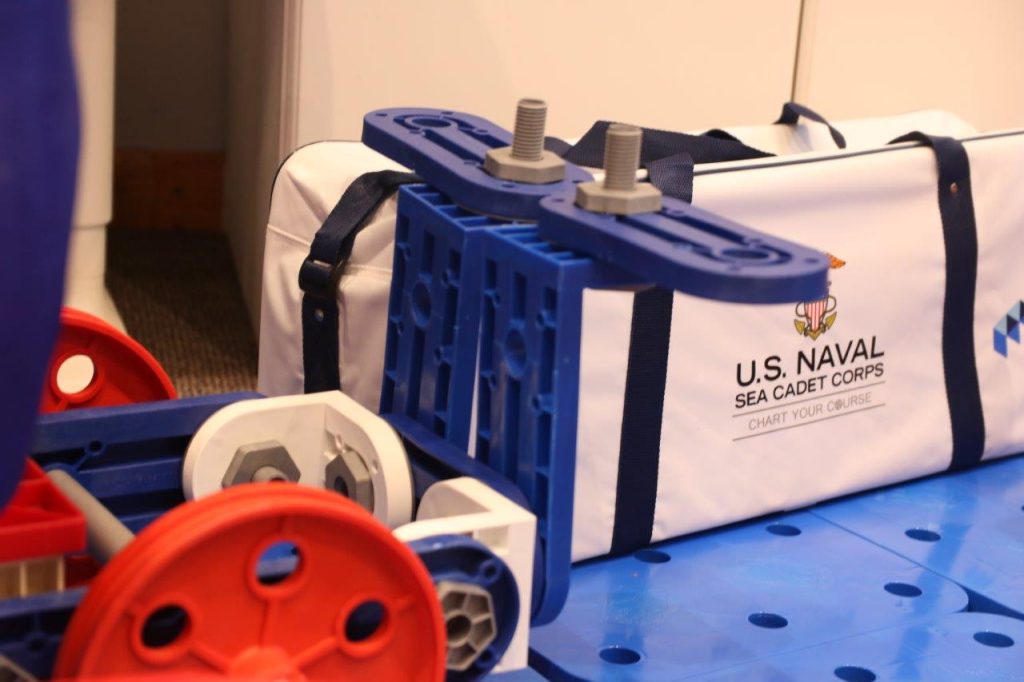
# 7 The Ship
The ship is built from a Royal Navy MTa Stem Kit and the sail comes from our friends in the New Zealand Navy. We thought that the gold braided rope definitely added a touch of class. The key to getting this element to work was to reduce friction. By using large panels from the MTa Coaching Kit we were able to add a blue sea effect, but most importantly reduce the rolling resistance between the wheels and the surface. Whereas the car needed rubber tyres to stop the wheel spinning by removing the rubber tyres on the ship we were able to further reduce friction and weight. Finally a squirted of WD40 into the moving parts reduced friction even further and we added a small incline under the back wheels, so as soon as the ship had passed overcome its initial inertia it gained further momentum.
We added a battering ram on the front, to make sure the ship hit the dominoes above their centre of gravity.
#8 The Dominoes
This section was based on an MTa Team Kit activity also called Dominos. And it was definitely the most frustrating part as they kept falling over! Success here demanded precision and consistent measurement. The dominoes were angled at 45 degrees to the direction of travel, so as they fell over they knocked the panels, revealing the winners.
Conclusions
We had so much fun doing this it would be a great activity to try on a camp or at residential when multiple groups coming together of multiple kits. It kept us entertained for days and we only had to stop because we needed to release the competition results. We’ll probably keep going over Christmas!
We got the entire system working consistently from end to end with a reasonable level of consistency, but the final video is two complete reveals, cut together so we could change camera angles and show more of the action.
Learning Opportunities
From a more serious perspective it’s a fantastic learning activity. We had to understand and work with, and solve problems related to:
Trajectories, friction, mass, potential energy, kinetic energy, pulleys, levers, momentum, inertia, precision, consistency, angles and much more…
And we had to manage our time, manage risk, set realistic goals, be resilient, adapt our plans we had solve problems, apply learning and meet a deadline.
It’s been a great team activities to do at the end of a challenging year, and we’re sure the many MTa enthusiasts out there could do something even bigger and better – we’d would love to see your videos!
Thanks again everyone for entering the competition it’s been a blast. The results are here.
Merry Christmas and Happy new year Jamie, Alex, Suz, Claire and the rest of the team at MTa ?
For more information on any of the kits featured in this reveal, just get in touch.